Most people think carefully about what they drink, but far fewer think about what that drink touches before it reaches the glass. Filtered water, lemon water, smoothies, iced coffee, herbal infusions, and electrolyte drinks all move through a small, repeated system in your kitchen: filter, bottle, pitcher, ice tray, lid, straw, storage jar, glass. If the water starts clean but then sits in scratched plastic, low-quality silicone, or coated materials for hours, you can quietly reintroduce the very exposures you were trying to reduce. A PFAS-free drink station is not about fear or perfection; it is about building a cleaner material flow from water source to glass. If you are ready to upgrade the ice portion of that chain, this guide to the best stainless steel ice cube trays covers options that freeze cleanly without adding more plastic to your routine.
Quick Answer
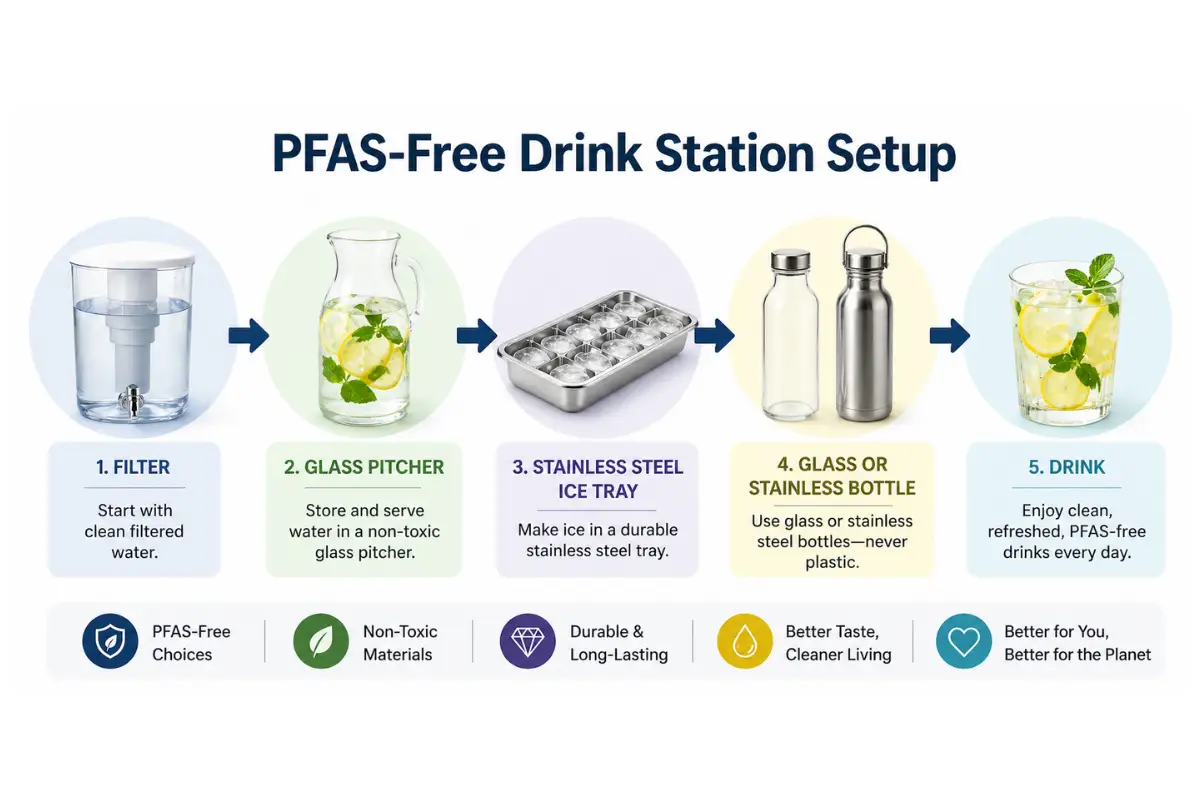
A PFAS-free drink station starts with three simple upgrades:
- Filter the water properly
Use a filter setup that matches your home, whether that is under-sink, countertop, faucet or layered filtration. - Replace plastic ice trays with stainless steel
Ice touches the tray for hours. For daily ice, I prefer 18/8 stainless steel because it is durable, non-porous and plastic-free. - Use glass or stainless steel for storage and drinking
Glass bottles, glass pitchers and stainless steel bottles reduce the time your drinks spend in contact with plastic.
The goal is simple:
Minimize how long water, ice and drinks sit against synthetic or coated materials.
At a Glance: Material Safety in a PFAS-Free Drink Station
| Component | Common Option | Better Choice | Why It Matters |
| Water source | Unfiltered tap water or basic plastic pitcher | Under-sink, countertop or faucet filter matched to your water | Filtration is the foundation before anything else |
| Ice trays | Old plastic trays or cheap silicone | 18/8 stainless steel | Reduces daily contact with aging plastic |
| Water storage | Plastic bottles or plastic pitchers | Glass pitchers, glass bottles or stainless steel bottles | Liquids often sit for hours before drinking |
| Smoothie or prep storage | Plastic tubs | Glass containers | Better for acidic drinks, fruit blends and overnight storage |
| Flexible storage | Low-quality silicone | High-quality food-grade silicone used selectively | Silicone varies a lot in quality |
| Straws | Plastic or coated paper | Glass or stainless steel | Some coated paper products may contain unwanted treatments |
Why a Drink Station Needs a Material Strategy
A drink station is not one product. It is a chain.
Water may pass through a filter, sit in a pitcher, freeze in a tray, melt in a glass, touch a straw, then sit in a bottle. Each step matters because each surface touches liquid.
This is where the Zero Toxic Load idea becomes practical.
It is not about being afraid of one plastic bottle here and there. It is about the repeated contact points that sit in your kitchen every day, often for months or years without being questioned.
A scratched plastic pitcher.
A cloudy ice tray.
A silicone lid that smells like old food.
A coated travel cup you use every morning.
None of these things need panic. But they do deserve a second look.
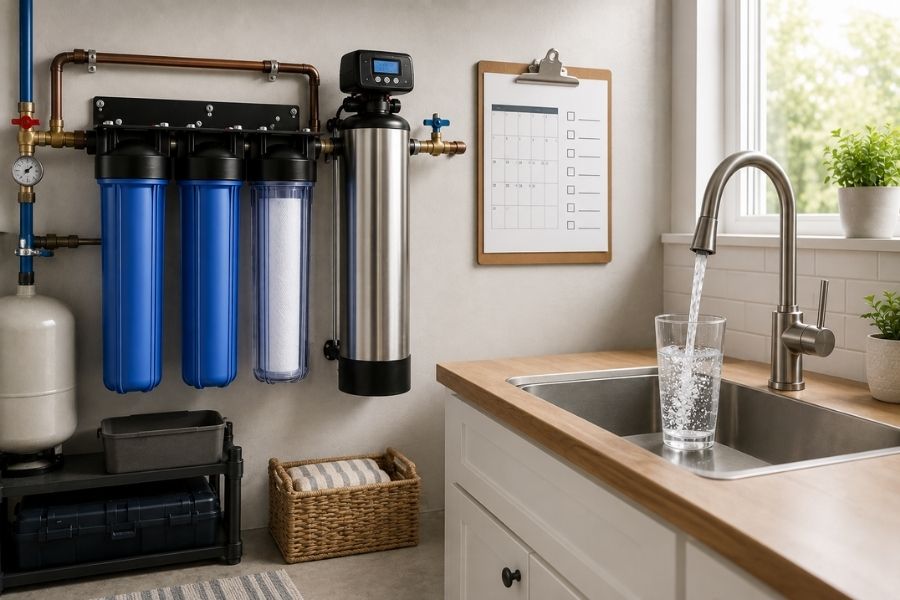
Step 1: Start With the Water Filter
The first part of a PFAS-free drink station is the water itself.
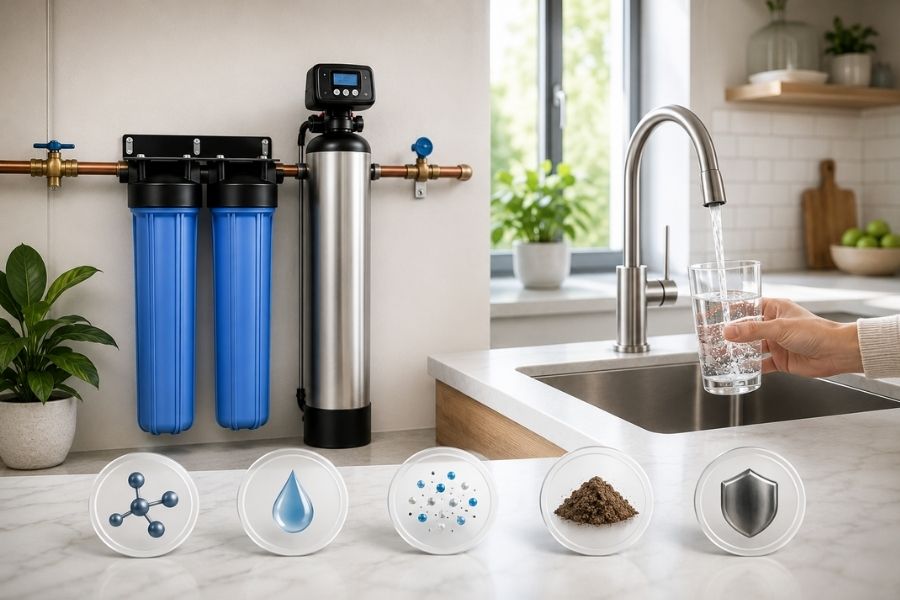
The right filter depends on your water quality, your home and what you are trying to reduce. Some homes need a simple countertop filter. Others need under-sink filtration, reverse osmosis or layered filtration.
The key is not to buy the most complicated system. The key is to match the filter to the problem.
If you are comparing options, start with this guide: Under-Sink vs Countertop vs Faucet Filters
Once the water is cleaner, the next step is to protect it from unnecessary material contact.
That is the part many people miss.
Step 2: Replace Plastic Ice Trays
Ice trays are one of the most overlooked parts of a drink station.
Water sits in the tray for hours. It freezes, expands, then goes directly into your drink. If that tray is old plastic, cloudy, scratched or brittle, it is probably not the cleanest surface anymore.
Repeated freezing and expansion can stress plastic surfaces over time. That is one reason older trays often become cloudy, stiff or rough. At that stage, I do not see the tray as a harmless object anymore. I see it as an easy swap.
For daily ice, I prefer stainless steel.
A good stainless steel tray is:
- plastic-free
- non-porous
- durable
- easy to clean
- low-waste
- stable for long-term use
My preferred material is 18/8 stainless steel, which is commonly used in food-grade kitchen tools.
If you want specific options, I have a full guide here: Best Stainless Steel Ice Cube Trays
If you want a deeper look at how plastic, silicone and stainless steel compare as ice tray materials, I have a full breakdown here: Plastic vs Silicone vs Stainless Steel Ice Trays
Weakness of Stainless Steel Ice Trays
Stainless steel is not perfect for everyone.
It can be less flexible than silicone. Some trays need a short rest on the counter before the cubes release. Older lever-style trays can also be harder to use if you have weak hands, joint pain or arthritis.
In that case, a high-quality silicone tray may be a better compromise.
Who Should Avoid Stainless Steel Ice Trays
You may want to avoid stainless steel ice trays if:
- you need very easy cube release
- you have hand pain or weak grip strength
- you freeze sticky foods more often than plain water
- you prefer soft, flexible trays for baby food or smoothie cubes
For plain daily drinking water, stainless steel is still my first choice.
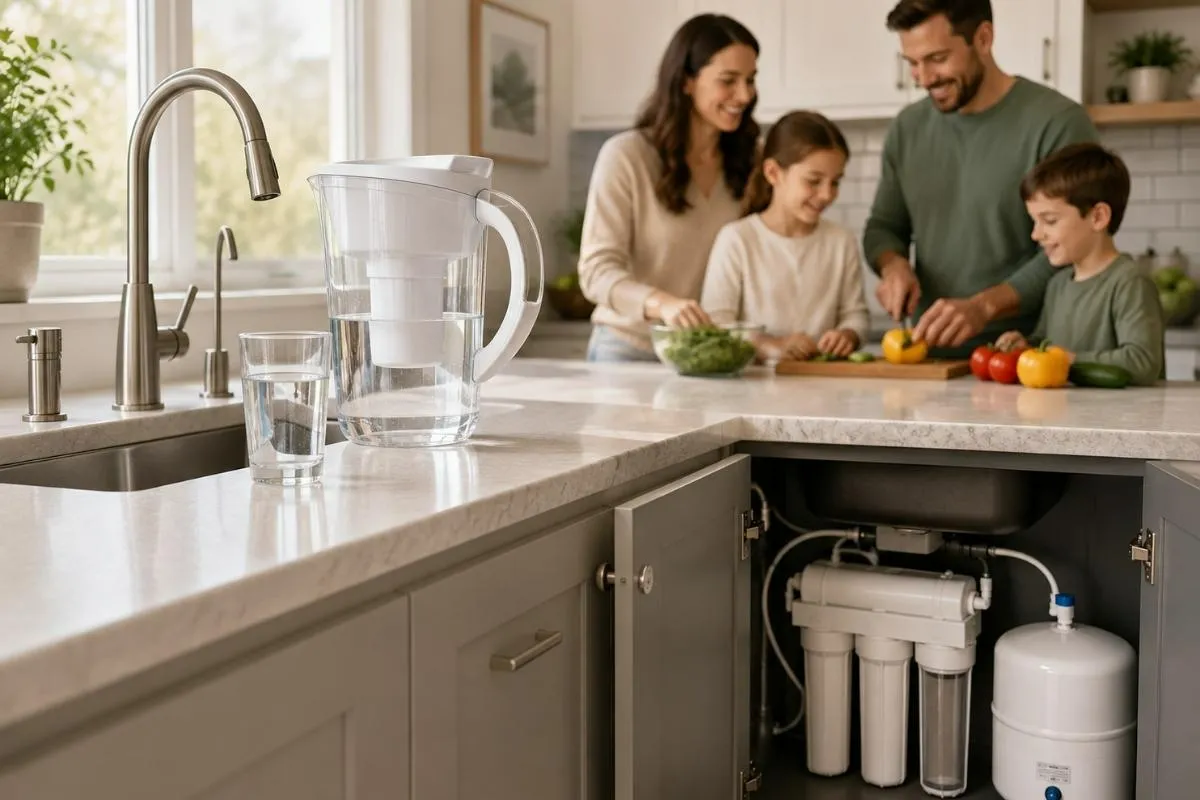
Step 3: Use Glass for Water, Juice and Smoothie Storage
After the filter and ice tray, storage is the next big contact point.
This is where plastic quietly returns to many kitchens.
People filter their water, then store it in plastic pitchers. Or they make a fresh juice, then pour it into a plastic bottle. Or they prep smoothies and leave them in plastic tubs overnight.
For short contact, this may not feel like a big deal. But drinks often sit for hours, especially in the fridge.
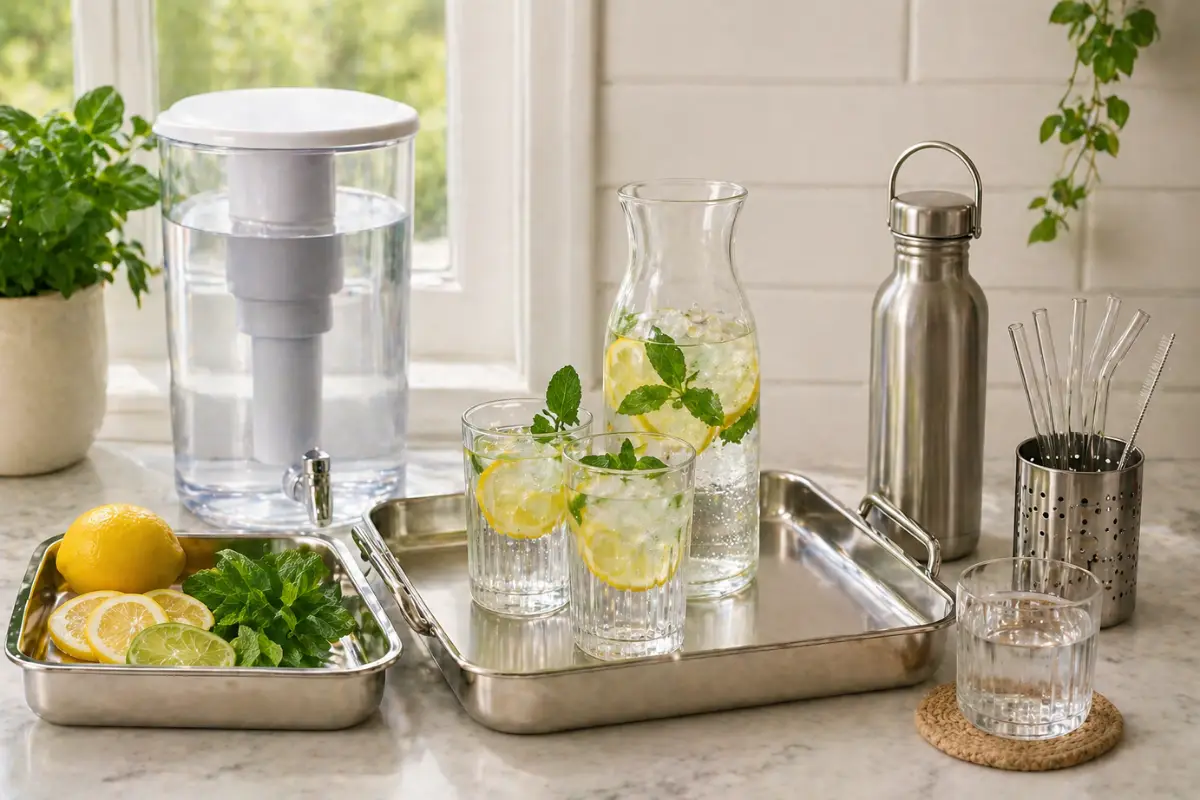
That is why I prefer glass for drink storage.
Glass is:
- non-porous
- easy to clean
- odor-resistant
- stable with acidic drinks
- good for fridge storage
- simple and transparent
For lemon water, beet juice, green juice, smoothies or infused water, glass makes more sense than plastic.
For daily bottles, especially when you want something portable, a good reusable bottle can also be part of the setup. I compare practical options here: Best Reusable Water Bottle
For larger prep portions, I would use glass food storage containers instead of plastic tubs, especially when the drink contains lemon, berries, ginger, tomato, vinegar or anything acidic.
Weakness of Glass
Glass is heavier than plastic. It can also break.
That matters in real homes, especially if you have small children, stone floors or a busy kitchen where bottles get knocked over.
Who Should Avoid Glass
Glass may not be ideal if:
- you have very young children handling the containers
- you often take drinks outside or in the car
- your kitchen floor is stone or tile
- you need something very lightweight
In those situations, stainless steel bottles can be the better everyday choice.
Step 4: Be Selective With Silicone
Silicone can be useful in a drink station.
It works well for:
- smoothie cubes
- herb cubes
- broth portions
- soft lids
- freezer prep
- flexible storage
But silicone is not automatically clean just because it is not plastic.
Quality varies a lot.
Some silicone smells strongly chemical when new. Some holds food odors for weeks after washing. Some feels oily, sticky or overly soft. Those are not small details. They are signs that material quality matters.
For HH, the rule is simple:
Choose high-quality food-grade silicone only, and use it where flexibility is truly useful.
If a silicone product smells chemical after washing, holds odors strongly or feels sticky, I would replace it.
If you already use silicone bags or flexible food storage, this fits naturally with my guide to Stasher alternatives, where I look at reusable silicone storage through the same low-toxin, low-waste lens.
Weakness of Silicone
Silicone is convenient, but it can absorb smells, stain and vary in quality. It is also not always easy to know what fillers or additives were used.
Who Should Avoid Silicone
You may want to avoid silicone for:
- strong-smelling liquids
- oily sauces
- garlic, broth or onion-based cubes
- long-term storage
- acidic drinks that sit for many hours
Use silicone selectively. Do not build the whole drink station around it.
Step 5: Choose Better Straws, Lids and Small Accessories
The small accessories matter too.
Straws, lids, seals and gaskets often get ignored, but they touch liquid directly.
For straws, I prefer:
- glass
- stainless steel
I would avoid disposable plastic straws and be cautious with coated paper straws. Some paper products use coatings to resist moisture, and the material story is not always transparent.
For lids and seals, look for:
- simple construction
- removable parts
- easy cleaning
- minimal odor
- no sticky rubber smell
Biofilm is also worth thinking about here. Any part that traps moisture can become a place where residue builds up. Plastic and rubbery materials often hold odors and residue more easily than glass or stainless steel.
This is another reason I prefer materials that are smooth, non-porous and easy to clean.
Step 6: Build the Daily Flow
A PFAS-free drink station should be simple enough to use every day.
A realistic setup might look like this:
- Filtered water from the right system for your home
- Glass pitcher or stainless steel bottle for storage
- Stainless steel ice tray for daily ice
- Glass or stainless steel straw if needed
- Glass containers for juices, smoothies and prep
- High-quality silicone only where flexibility is useful
That is the whole system.
The goal is not a perfect kitchen.
The goal is fewer weak material links.
The Biggest Mistake People Make
The biggest mistake is buying one expensive filter and then ignoring the rest of the chain.
I see this all the time.
Someone invests in clean water, then freezes it in an old plastic ice tray that has been scratched and gray for five years. Or they filter water beautifully, then store it in a cheap plastic pitcher all day.
That is logical inconsistency.
Where does my clean water go after it leaves the filter?
That question alone will show you what to upgrade next.
What to Upgrade First
If you want the simplest order, I would do it like this:
First: Filter the water
This is the foundation.
Second: Replace old plastic ice trays
This is cheap, easy and high-contact.
Third: Switch daily drink storage to glass or stainless steel
Especially for lemon water, juice, smoothies and overnight storage.
Fourth: Replace straws, lids and flexible storage only as needed
Do not overbuy. Upgrade what you actually use.
The Zero Toxic Load Perspective
This is not about being extreme.
It is about reducing unnecessary exposure where the swap is easy and logical.
A drink station touches your daily life:
- water
- coffee
- tea
- smoothies
- kids’ drinks
- lemon water
- electrolyte drinks
- ice
That repetition is why the materials matter.
A cleaner setup does not have to be complicated. It just has to be consistent.
Final Verdict
A PFAS-free drink station is built through a simple material chain:
- filter the water
- freeze it in stainless steel
- store it in glass or stainless steel
- use silicone only when quality and flexibility make sense
- avoid old, scratched or smelly plastic
You do not need a perfect kitchen from day one.
Start with the highest-contact items first. For most homes, that means the filter, the ice tray and the bottle or pitcher.
That is enough to make the whole drink routine cleaner, calmer and more aligned with a true Zero Toxic Load kitchen.