Wondering how to test your water quality? In this guide, we show you step by step…
Clean water is more than just a luxury. It’s essential for good health and peace of mind. When it comes to the water we drink and use every day, knowing what’s in it should be a top priority. The taste and smell might not give away the secret, but even the clearest water can have hidden downers that you wouldn’t guess.
Household water can sometimes hitch a ride with guests like bacteria, lead, or pesticides. Not exactly the party you’d want in your glass. Each of these uninvited contaminants can bring unwanted health woes, from minor stomach issues to long-term problems. The scary truth is, sometimes your senses can’t easily tell you what’s there.
Then there are the regulatory standards. Governments usually set out regulations to keep water supplies clean, but not every piped solution might meet these standards. While public water goes through regular checks, those pulling from wells might not get the same assurance.
Regular water testing puts you in the driver’s seat. Think of it as unlocking a cheat code for proactively tackling any issues head-on before they trickle into bigger problems. After all, knowing is half the battle, right?
Gathering Essential Tools for Water Testing
Finding the right gear to test your water is a bit of an adventure. With a variety of water testing kits out there, the challenge is picking the one that’s your perfect match. Each kit has its vibe, from basic do-it-yourself strips to digital testers and lab-grade kits. The goal here? Getting something that fits your needs and your budget.
Choosing a kit can be tricky. Focus on what you need to test for. If you’re mainly worried about hard water or lead, some kits are specialized just for those. Need a broad check-up? Go for a comprehensive kit that covers the usual suspects like pH levels, bacteria, and more.
Online shopping is your best friend here. Many websites offer reviews and comparisons which can be super helpful. Retailers like Amazon or even specialty stores have plenty of choices. Don’t forget to consider the cost. Test kits range from dirt-cheap options to more fancy setups. Even if you’re on a tight budget, there’s a sweet spot where price meets value.
When browsing, pay close attention to the test’s ease of use and accuracy. There’s no point getting a lab-grade kit if it takes a degree just to use it. So, reading up on user reviews or watching a quick YouTube tutorial can save tons of hassle later. Be sure the kit has clear instructions and check if it needs any extra gear you might not have lying around.
Conducting a Comprehensive Water Quality Test
Rolling up those sleeves to test water quality isn’t too complicated if you have the right kit. First things first, grab your test kit and check all the instructions thoroughly. Each kit might play by its own rules, so it’s important to follow their specific steps. This can range from dipping a strip to using tablets or even electronic meters.
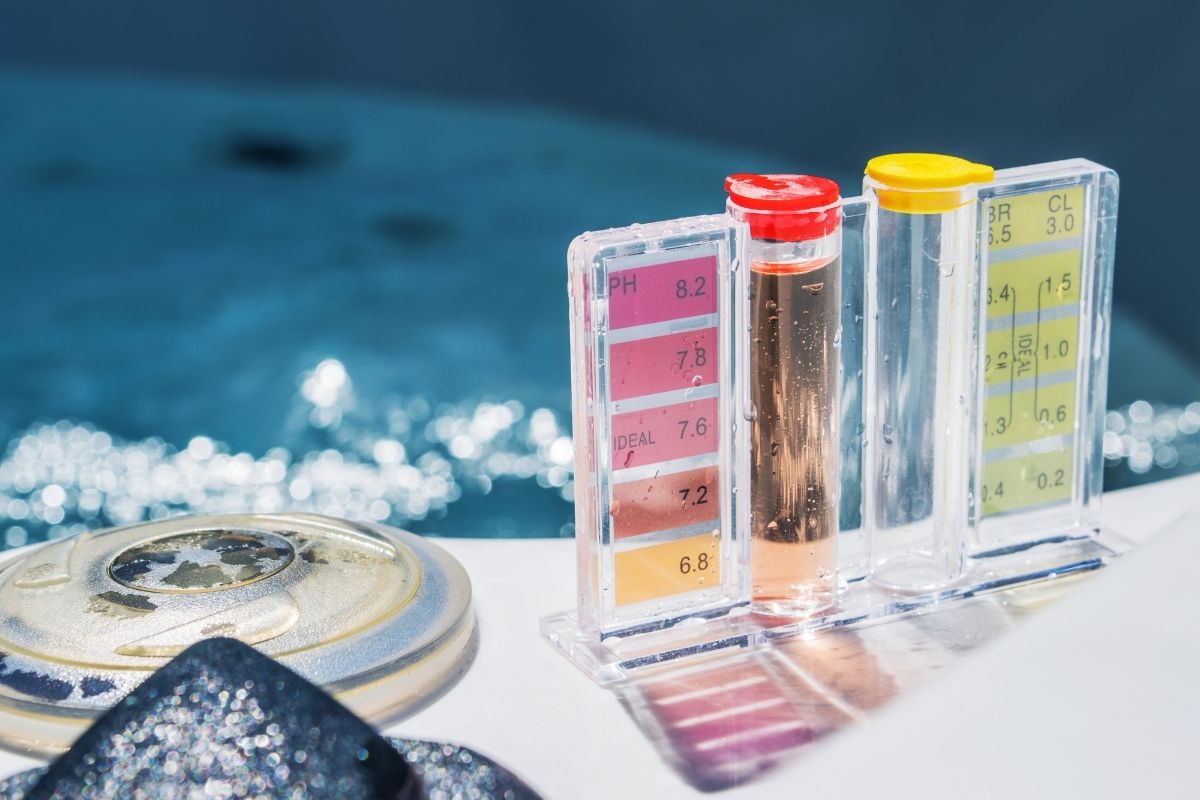
The usual suspects in water need checking, such as pH levels, hardness, chlorine, and any nasty bacteria hanging around. These indicators can tell you a lot about what’s lurking in your water and if it’s throwing off any red flags.
When results come in, get ready to interpret them thoughtfully. Most kits come with handy charts or color codes to make translating results easier than a class in high school chemistry. But here’s where a bit of caution is needed—misreading these results could give you the wrong idea about your water’s condition.
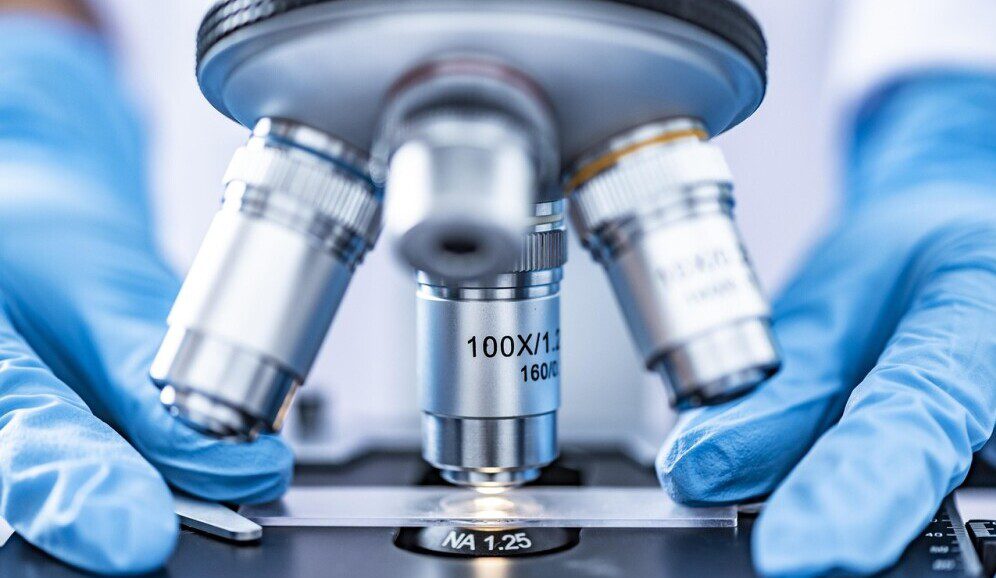
If something seems off, or your results are giving you the willies, consider taking things up a notch. Professional lab testing is the gold standard and can give more detailed insights if your home kit raises concerns. Some labs offer mail-in services where you send a sample and get an expert analysis back, which can be a huge relief if things look cloudy.
Taking Action Post-Testing: Improving Water Quality
Once those test results are in, it’s decision time. If things aren’t looking great, no need to panic—fixing water quality issues is doable. Whether it’s funky bacteria or a tough mineral buildup, solutions exist for routine home problems.
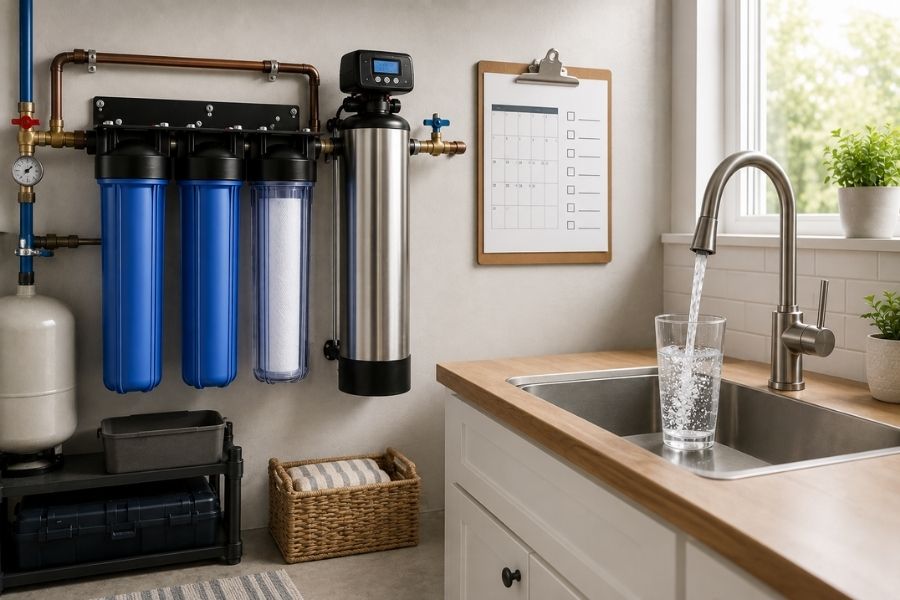
For many, investing in a good filtration system can be a game-changer. You can choose from a straightforward pitcher filter to more complex under-sink systems or even a whole house setup that protects every tap at once. These filters work on different technology—charcoal, reverse osmosis, UV light—and each has its strengths. Focus on what your water needs according to that test kit result you just got, and look for filters certified to tackle your specific issues, as not all are created equal.
Maintaining good water doesn’t stop at buying the right filter. Routine upkeep is the secret to keeping that water high-quality over the long haul. That means regular cleaning, replacing filters, and sticking with an upkeep schedule as outlined by the manufacturer. This not only extends the life of your equipment but also ensures the water you’re consuming remains top-notch.
Sometimes, googling isn’t enough and it’s time to call the pros. For serious concerns like persistent odor, color issues, or heavy contamination, a water quality expert can help pinpoint the problem and recommend next steps. Seeking professional advice can save trouble later and help ensure you and your family are sipping safely.
Follow us on social Facebook
Also Know About:
Top 10 Tips For Ensuring Clean And Healthy Drinking Water At Home
10 Things In Your Home That Affect Water Quality – And What You Can Do About It

Anita is the founder and writer behind Healthy Home Upgrade, where she shares her passion for transforming living spaces into foundations for smart health and wellness. Driven by her personal health journey, her goal is to provide valuable, practical articles that empower readers to use technology and design to improve their quality of life.