Clean water shouldn’t be something you need to think about every day — it should simply be there. Yet when you start reading about tap-water contaminants, it can feel like a rabbit hole: chlorine, heavy metals, PFAS, microplastics, bacteria… the list goes on.
A whole house reverse osmosis (RO) system is one of the few solutions that can tackle almost everything at once. It filters the water before it ever reaches your taps, so every shower, kettle, and washing machine cycle runs on purified water.
But with so many models, stages, and claims, how do you choose the right one?
This guide breaks it down in everyday language so you can make a confident, informed choice — no plumbing degree required.
Step 1: Understand What Problem You’re Solving
Before buying any filtration system, take a moment to understand what’s actually in your water.
Every region, and even every street, can have slightly different water chemistry.
Here are three simple ways to find out:
Check your local water quality report.
Most cities publish this online once a year.
Buy a basic test kit.
They cost less than a dinner out and show chlorine, hardness, and lead levels.
Look around your home.
Stains in the sink or on laundry, mineral build-up on kettles, or dry skin after showers are everyday clues.
Knowing your starting point helps you choose filters that target the right issues instead of paying for features you don’t need.
Step 2: Know What a Whole House RO System Actually Does
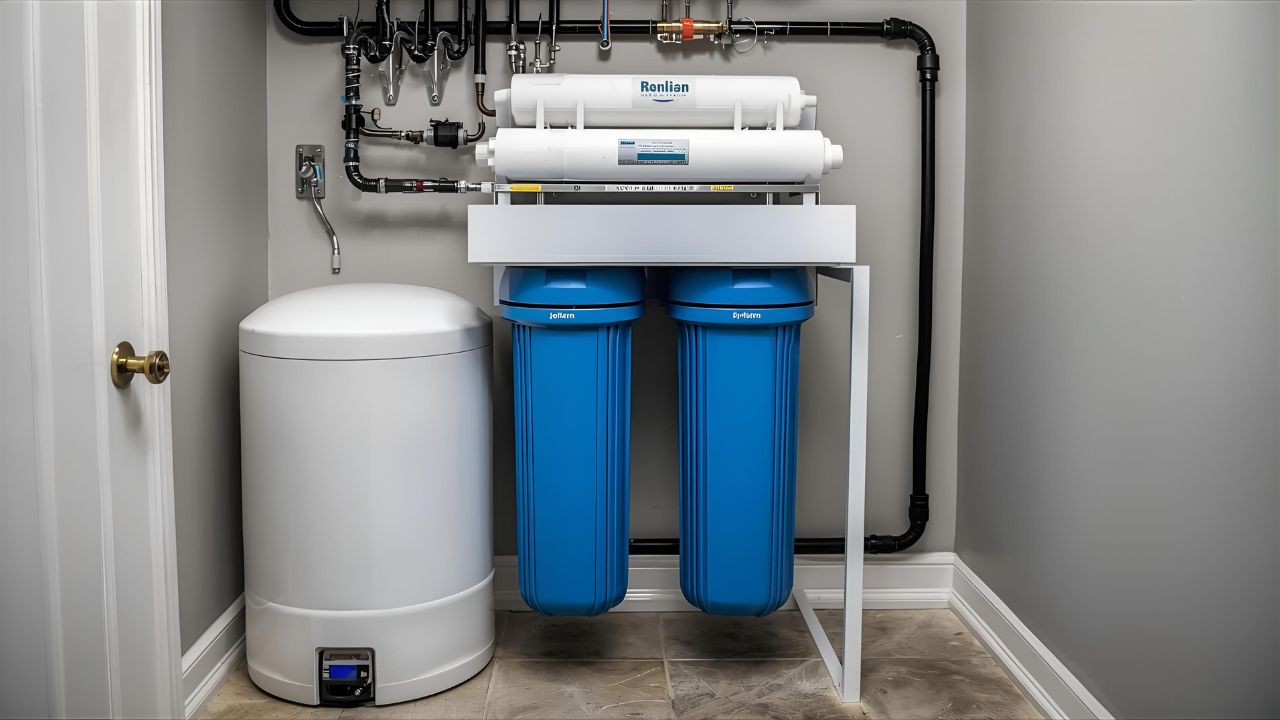
Think of a whole-house RO system as a gatekeeper that purifies all the water entering your home.
Water first passes through pre-filters that trap sand, rust, and sediment.
Then it’s pushed through a semipermeable membrane — a sheet so fine that only water molecules slip through.
Finally, post-filters polish the taste and remove any trace odors.
Some systems include a remineralization stage to re-add calcium and magnesium so the water tastes more natural.
The result?
- Drinking water that’s clear and crisp
- Softer showers that are gentle on skin and hair
- Longer-lasting appliances (no scale inside kettles or coffee machines)
It’s one quiet system that improves your entire home without daily effort.
Step 3: Match the System to Your Home Size
RO systems are rated by how many gallons per day (GPD) they can produce. That number tells you how much purified water you’ll have available.
HouseholdTypical Daily Water UseRecommended RO Capacity1–2 peopleLight use, 100–200 gal200–400 GPD3–4 peopleModerate use, 200–400 gal500–700 GPD5+ peopleHeavy use, 400 + gal800–1,000 + GPD
If you often run multiple taps or showers at once, choose a higher-capacity model so you never notice slow flow.
It’s similar to sizing a heating system — bigger homes simply need more supply to stay comfortable.
Step 4: Check Your Water Pressure
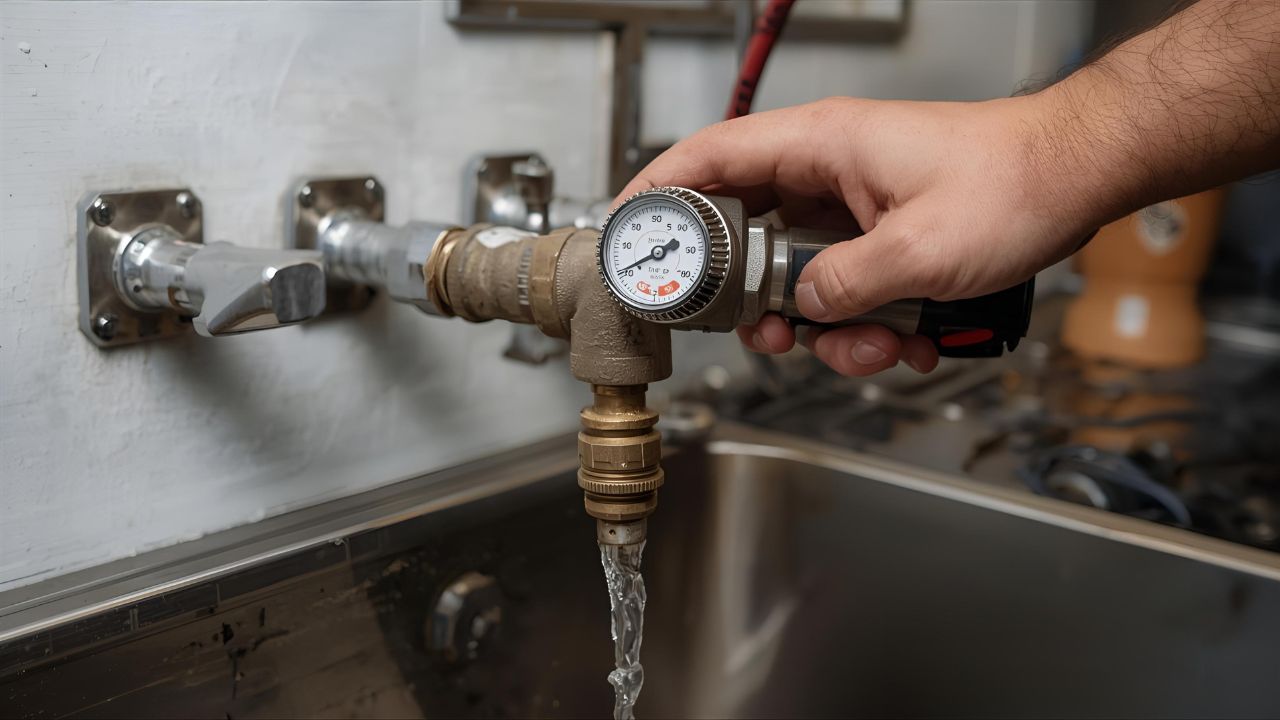
Reverse osmosis membranes rely on pressure to push water through their fine pores.
Ideal pressure sits between 40 and 80 psi.
If your home’s pressure is lower, add a booster pump; if it’s very high, a pressure-reducing valve keeps things safe.
A $15 gauge from the hardware store can tell you the exact number in seconds.
This one step alone prevents most future performance complaints people have about RO systems.
Step 5: Understand Efficiency and Water Use
Early RO systems had a reputation for wasting water — sometimes three gallons down the drain for every gallon purified. Modern systems are far more efficient.
Look for models advertising a 1:1 or 2:1 recovery ratio. That means you use one extra gallon or less to make a gallon of pure water.
If you live in an area with water restrictions or simply prefer sustainable living, efficiency should be on your checklist.
Tip: reuse reject water for gardening or cleaning floors if local regulations allow — it’s clean enough for non-drinking uses.
Step 6: Decide Which Features You Actually Need
There’s no one-size-fits-all setup. These are the features worth considering:
- Number of stages. A basic RO has 4–5 stages; advanced models can have up to 9. More stages mean more targeted filtering but also more upkeep.
- Remineralization filter. Restores natural minerals for a fresher taste.
- UV sterilization. Ideal for well-water users who need protection against bacteria.
- Automatic flush valve. Extends membrane life by washing away buildup.
- Smart indicators. Some newer systems have lights or apps that remind you when filters need changing.
Focus on features that genuinely fit your lifestyle instead of marketing extras you’ll never use.
Step 7: Plan for Maintenance — It’s Easier Than It Sounds
RO maintenance is predictable once you know the rhythm.
ComponentReplacement IntervalPurposePre-filtersEvery 6–12 monthsTrap sediment and chlorineRO membraneEvery 2–4 yearsCore purification barrierPost-filtersEvery 12 monthsImprove tasteUV lamp (if present)AnnuallyKill microbes
Changing filters is usually as easy as unscrewing a cartridge — no plumber required.
A simple reminder in your phone or planner keeps the water quality perfect year-round.
Step 8: Look for Independent Certification
To avoid falling for pretty packaging, rely on third-party testing.
- NSF/ANSI 58: verifies removal claims for heavy metals, chlorine, and total dissolved solids.
- WQA Gold Seal: confirms the system was built with safe materials and meets strict manufacturing standards.
These logos mean the performance numbers on the box were proven in a lab, not guessed in marketing copy.
Step 9: Decide Between DIY or Professional Installation
Many homeowners successfully install mid-size RO systems themselves with a weekend, a wrench set, and YouTube tutorials.
But if your plumbing runs through multiple stories or you’re connecting to large storage tanks, hiring a plumber can save frustration.
Professional installation generally costs a few hundred dollars and takes half a day.
Either way, once installed, RO systems run quietly and need attention only a few times per year for filter changes.
Step 10: Think Long-Term — Value, Not Just Cost
The cheapest unit is rarely the best investment.
Consider:
- Filter availability and price (will you easily find replacements?)
- Warranty and brand support
- Energy and water efficiency over time
A well-chosen system lasts a decade or more, protecting appliances, skin, and peace of mind.
Spread that cost across ten years, and you’re paying just a few cents per day for top-tier water quality.
Real-World Example: What “Better Water” Feels Like
People often notice the difference within a week:
- Coffee tastes cleaner, with no metallic hint.
- Showers feel softer, because there’s no chlorine dryness.
- Glasses stay clear coming out of the dishwasher.
One HH reader shared that after installing her RO system, her skin stopped itching after showers — something she’d never connected to chlorine until it was gone.
Those small daily improvements are what make the system worth it.
Conclusion:
Simple Clarity You Can Taste
Choosing a whole house reverse osmosis system doesn’t have to be technical or overwhelming.
Once you understand your water and what matters to your household, the rest falls into place.
Clean water touches everything: your health, your home, even the way your morning tea tastes.
With a properly chosen RO system, you’ll know that every drop in your house — from the shower to the soup pot — is safe, pure, and refreshing.
That’s not a luxury. That’s what home should feel like.
Sources
- U.S. Environmental Protection Agency (EPA): Drinking Water Contaminants – Standards and Regulations
- NSF International: Understanding Reverse Osmosis Water Treatment
- Water Quality Association (WQA): Residential Water Treatment Systems
Follow us on social Facebook
Also know About:
How To Test Your Water Quality: A Step-by-Step Guide
Top 10 Tips For Ensuring Clean And Healthy Drinking Water At Home
The Ultimate Guide To Whole House Reverse Osmosis Systems: What You Need To Know