Weighted Vest for Workouts: How to Use One to Boost Calorie Burn and Strength (Safely)
A weighted vest looks simple, but it can upgrade your training in a very “quiet” way: you do the same walk, the same squats, the same stairs — and the session feels meaningfully harder without turning into a complicated program. In this guide, Weighted Vest for Workouts is treated as a tool for smart progression: better effort, better consistency, and fewer rookie mistakes.
Quick Answer
Start light, keep the vest snug, and use it for walking, stairs, and controlled strength work before you try running or jumping. Most beginners do best with short sessions 2–3 times per week, then add either a little time or a little weight — not both at once.
At a Glance
- Best beginner load: start very light; many practical guides use ~5–10% of body weight as a sensible starting zone for most healthy adults.
- Best activities: brisk walking, incline walking, step-ups, squats, lunges, carries
- Beginner frequency: 2–3 sessions/week (add a 4th only when recovery feels easy)
- Fit rule: snug = safer (minimal bounce)
- When to avoid: sharp joint pain, uncontrolled high blood pressure, pregnancy, or recent injury (get clearance)
Affiliate Disclosure
This article may contain affiliate links. If you buy through a link, the site may earn a commission at no extra cost to you. We only recommend categories and criteria we believe are genuinely useful.
What a Weighted Vest Actually Changes (and Why It Works)
A weighted vest increases your external load. That sounds obvious, but it matters because your body must spend more energy to move the same distance and stabilize the same movements.
Research on load carriage and vest-borne loads consistently shows that metabolic demand rises as load increases, and heart rate typically rises with heavier loads during walking — especially when incline and speed go up.
What that can mean in real life:
- Walking feels “denser.” A 30-minute walk can feel like more work without needing to run.
- Bodyweight strength becomes more challenging (squats, step-ups, push-ups) without changing your exercise menu.
- Posture and trunk stability are tested because you’re carrying load on the torso — which can be helpful when controlled, and annoying when the vest bounces.
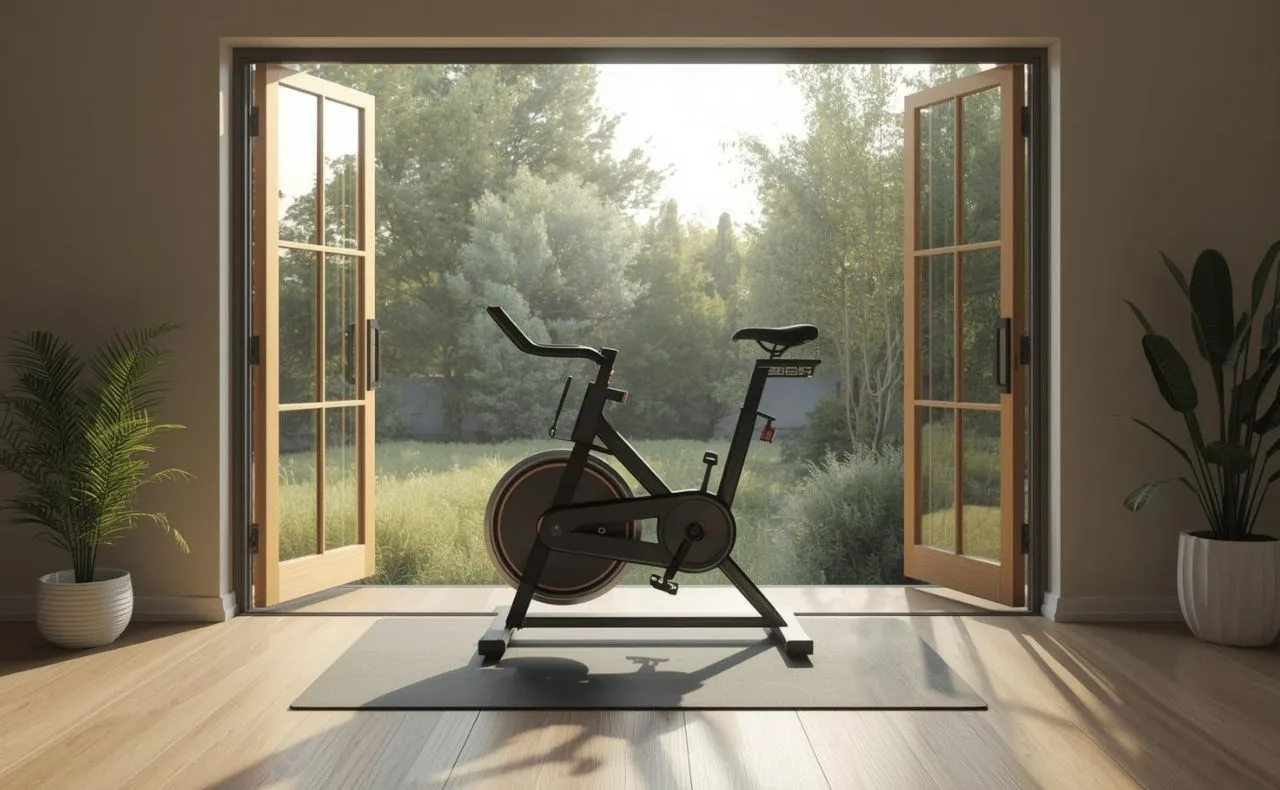
Add resistance cycling to your routine: see the NordicTrack S22i review (2026) – performance, classes & durability.
Weighted Vest for Workouts: A Simple Start Plan (Without Overdoing It)
Here’s the progression that keeps you improving while protecting joints and recovery.
Step 1: Choose one goal for the first 2 weeks
Pick one:
- “I want my walks to feel more challenging.”
- “I want bodyweight strength to feel harder without adding a gym routine.”
- “I want a simple conditioning circuit at home.”
Step 2: Start with short, easy wins
- Week 1–2: 2–3 sessions/week
- 15–25 minutes per session
- Keep intensity moderate (you can still speak in short sentences)
Step 3: Progress one variable at a time
For most people, the safest progression is:
- add 5–10 minutes to a session OR
- add a small amount of load
Not both in the same week.
A practical “stop sign” is next-day joint pain (knees/hips/ankles) or lingering low-back tightness. If that happens, back off load first.
Recover faster between sessions using the best mini massage guns for travel (2026 review)
How Heavy Should You Start?
A common beginner guideline is ~5–10% of your body weight, then build gradually.
If you want a simple rule that protects you from ego-loading:
- Walking/fitness: start lighter than you think, build time first
- Strength circuits: you can progress weight sooner, but keep movement quality strict
- Running: treat it as advanced — and keep the load low
Why caution matters: as load rises, fatigue and form changes can show up fast. Studies on loaded walking and load carriage show higher physiological stress as load increases, especially with incline and speed.
Track your progress accurately: compare WHOOP vs Oura for athletes.
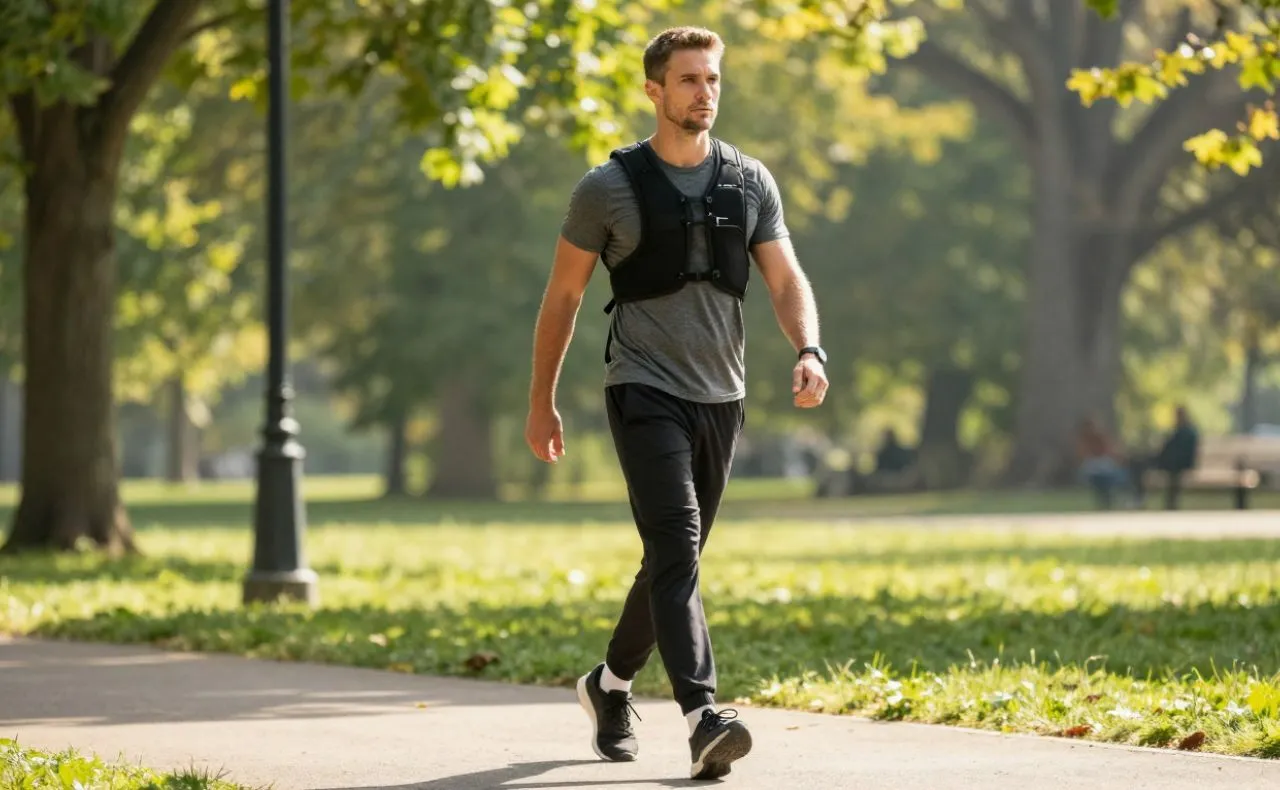
Best Uses for Calorie Burn (Without Turning It Into Punishment)
1) Brisk Walk + Incline “Finish”
Great for daily consistency.
- 10 min easy walk (warm-up)
- 15–25 min brisk walk (vest on)
- 3–6 min incline or stairs (optional)
- 3–5 min easy cooldown
2) Stair or Step-Up Builder (Home-Friendly)
Low-tech, high payoff.
- 3–5 rounds:
- 45 sec step-ups (or stairs)
- 45 sec rest
- Finish with 5–10 minutes easy walking (no vest if needed)
3) Strength Circuit (Full Body, Controlled)
Do this 1–2 times per week.
- 3–4 rounds (rest 60–90 sec between rounds):
- Squats or sit-to-stands x 10–15
- Reverse lunges x 8–10/side
- Push-ups (incline is fine) x 6–12
- Farmer carry (if you have dumbbells) 30–45 sec
- Dead bug or plank 20–40 sec
The vest should never force you to lose posture. If your ribs flare, your low back arches, or your steps get sloppy, lighten the load.
Strength and Bone Health: What We Can Say (Without Overpromising)
Weighted vests get attention for bone health because they add load to weight-bearing movement. The research here is nuanced:
- A well-known long-term trial in older postmenopausal women found that a multi-year program combining a weighted vest with jumping exercise helped maintain hip bone mineral density compared with controls.
- More recent research includes trials evaluating weighted vest use during weight loss and its effects on bone-related outcomes in older adults.
What’s the practical takeaway?
- A weighted vest can be a useful tool inside a broader plan (strength training, protein, recovery, smart impact work when appropriate).
- It’s not a magic object — it’s just a way to scale load.
If you have osteoporosis, a history of fractures, or are unsure about impact training, get professional guidance before you add load or jumping.
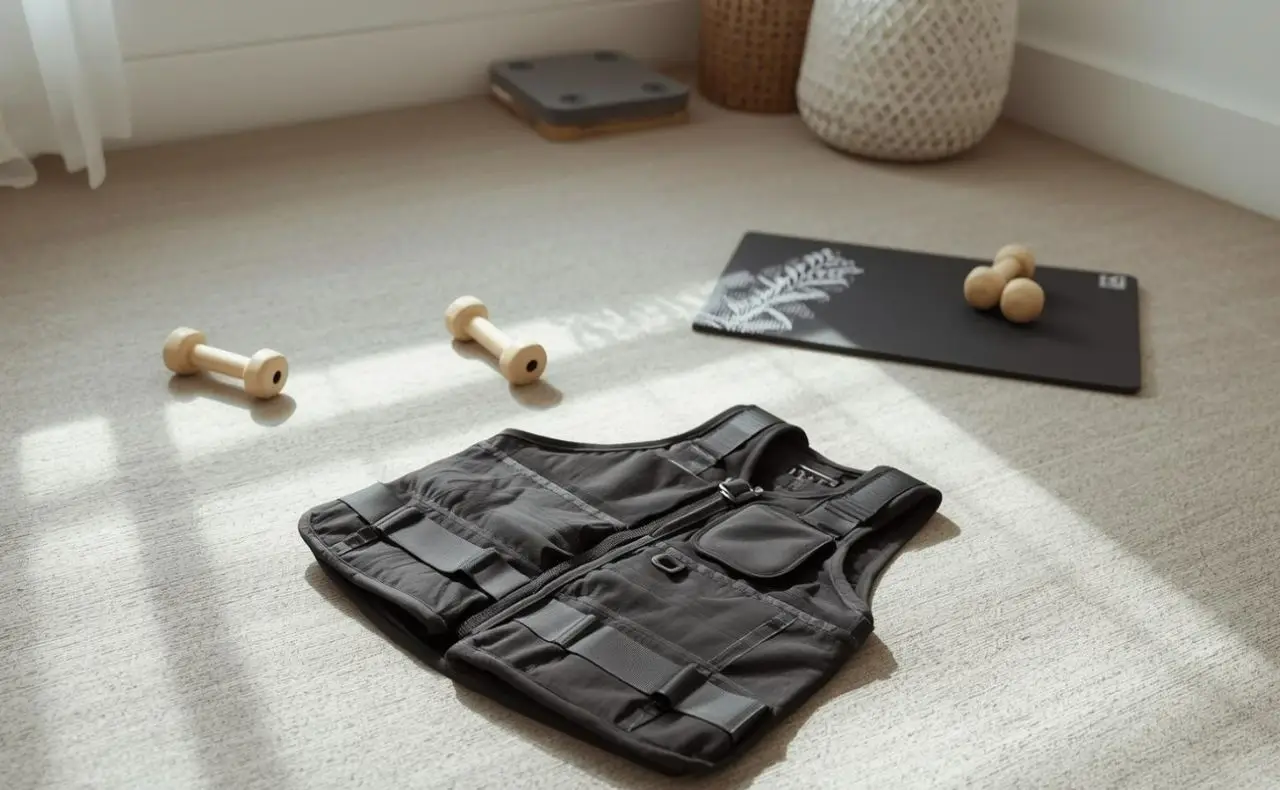
Choosing the Right Vest Style (and What to Look For)
Plate-style (rigid plates)
- Pros: stable, compact profile, often great for strength-focused work
- Cons: plates may be purchased separately; rigid load can feel less forgiving
Pocket-style (small removable weights)
- Pros: easiest progression (fine weight increments), versatile for walking + strength
- Cons: more pieces; can run warmer depending on materials
Fixed-weight “vest style” (no adjustments)
- Pros: simple, fast to put on, good for light walking sessions
- Cons: you can’t scale gradually — which limits long-term usefulness
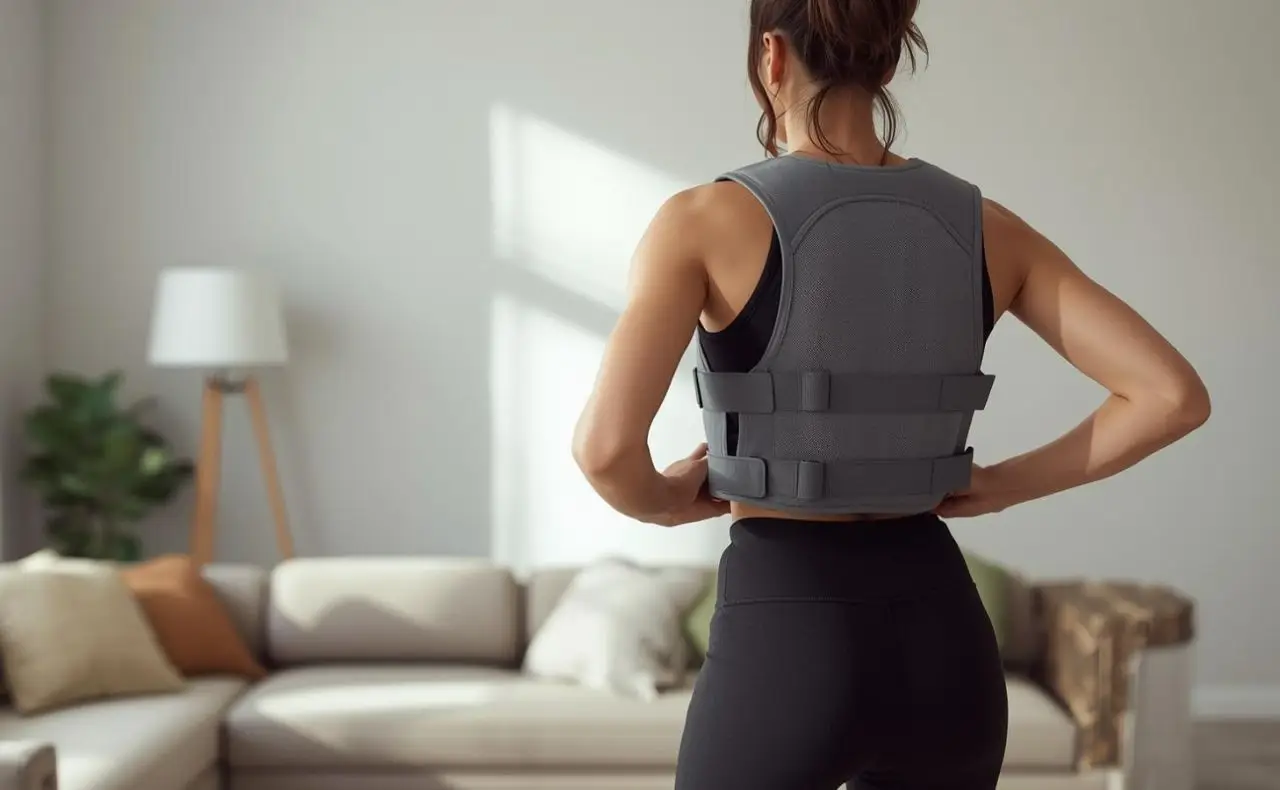
Fit checklist (this is where most people go wrong)
- Weight should sit high and centered on the torso
- Shoulder straps should feel secure but not dig into the neck
- A waist strap (or strong midsection adjustment) helps reduce bounce
- You should be able to raise your arms overhead without pinching
Running With a Weighted Vest: The Smart (Cautious) Way
If your main use is running, keep the load low and treat it as a skill:
- Start with walking-only for 2–4 weeks
- Use short run intervals only when the vest stays stable
- Stop if you notice knee/ankle irritation or altered gait
For most people, you’ll get excellent results from incline walking and step-ups without the joint stress that loaded running can create.
Common Mistakes (So You Don’t Lose a Month to Irritation)
- Going heavy on day 1 “because it feels fine”
- Using a loose vest that bounces (hotspots, neck rub, low-back fatigue)
- Adding weight and intensity in the same week
- Wearing it in high heat without adjusting effort
- Using it for high-rep jumping before you’ve built tendon tolerance
Maintenance: Sweat, Smell, and Longevity
Weighted vests get sweaty fast. Maintenance is part of the value:
- If the vest is machine-washable, follow label instructions (gentle cycle is common)
- If not, wipe down and air-dry fully (don’t leave it in a gym bag)
- Look for materials that don’t trap moisture and that dry quickly
- If you’re sensitive to odors, wash or air out the vest before first use
This matters because a vest you don’t want to wear becomes expensive clutter.
FAQs
Can a weighted vest help with fat loss?
It can help you increase training demand and weekly activity, which supports fat loss — but it’s not a shortcut. The best results come from consistent walking/strength work plus nutrition basics.
Is a weighted vest better than holding dumbbells while walking?
For most people, yes. A vest keeps the load closer to your center of mass and leaves your hands free, which can reduce grip fatigue and improve walking mechanics.
How many days per week is ideal?
Most beginners thrive at 2–3 days/week. Add a 4th only when recovery feels easy and joints feel calm.
Should I wear it during chores?
Light loads can work for chores, but be careful on stairs and uneven surfaces. The goal is controlled movement, not random risk.
What if it hurts my shoulders?
That’s often a fit issue. Try a vest with wider straps, better adjustment, or lower load. If pain persists, stop and reassess.
Can I use it for push-ups and pull-ups?
Yes — but only if it doesn’t block your range of motion or force your neck forward.
How long should a session be?
Start with 15–25 minutes. Build toward 30–45 minutes as tolerated for walking.
Who should avoid a weighted vest?
Pregnant individuals, people with uncontrolled medical issues, and anyone rehabbing an injury should get clearance first. If you have osteoporosis or fracture risk, get guidance before adding impact and load.
Final Thoughts
Used intelligently, Weighted Vest for Workouts can be one of the simplest ways to make walking and strength sessions feel more effective — without turning your life into a complicated training plan. Start light, prioritize fit, progress slowly, and let consistency do the heavy lifting.
References
- Metabolic costs and modeling for vest-borne loads
- Load effects on walking mechanics and metabolic cost
- Load mass/incline/speed effects on metabolic rate and heart rate
- Long-term weighted vest + jumping and hip bone density
- Weighted vest use vs resistance training in older adults (trial)